PDF Stamps
You now have the option to add stamps to your PDFs, marking them as approved, declined or with any other custom wording you would like.
To add a stamp to your PDF document:
- First navigate to the PDF that would like to add a stamp to, and click Edit (Super Suite plan) or Annotate (Semi-Suite plan) in the top right hand corner.
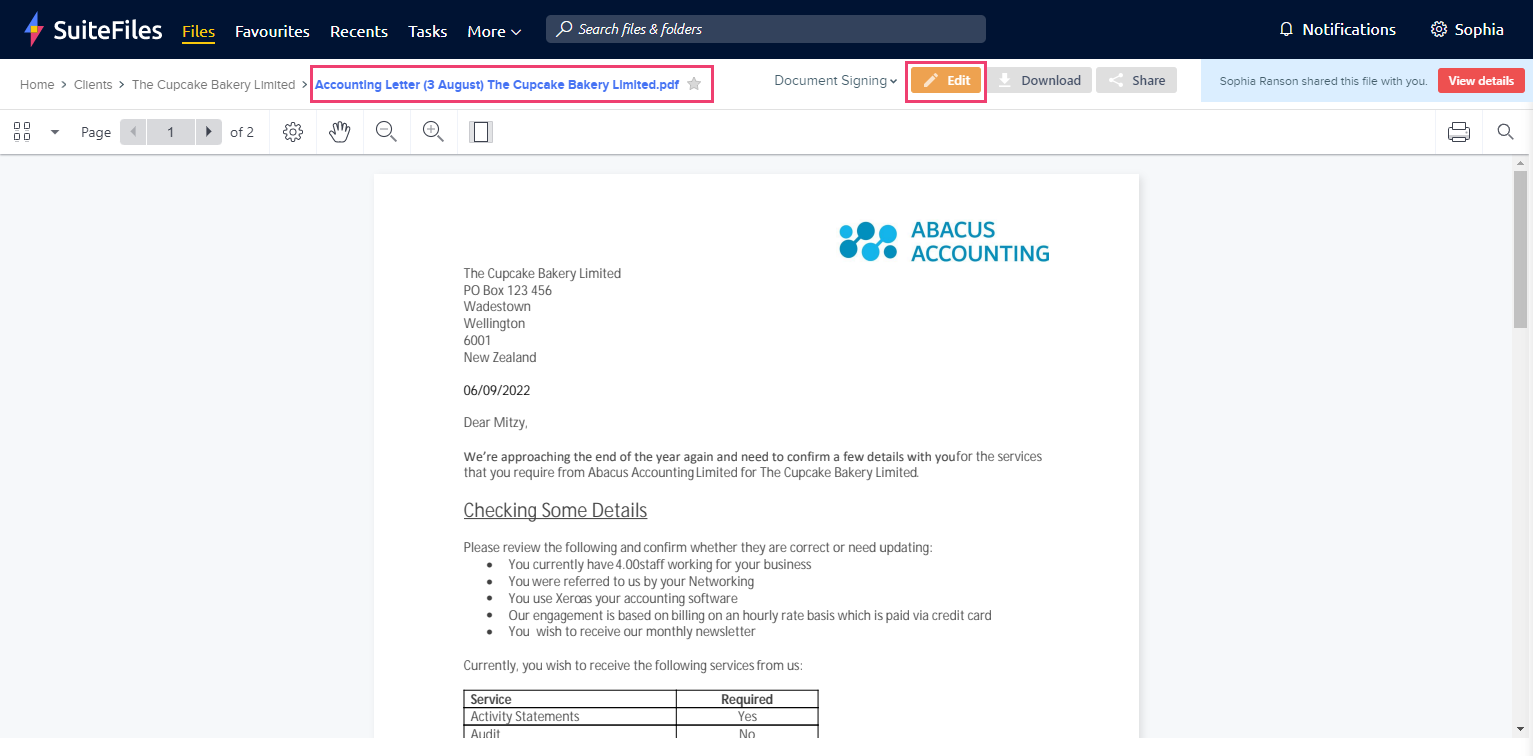
- Click on the 'Stamp' icon in the top right hand corner.
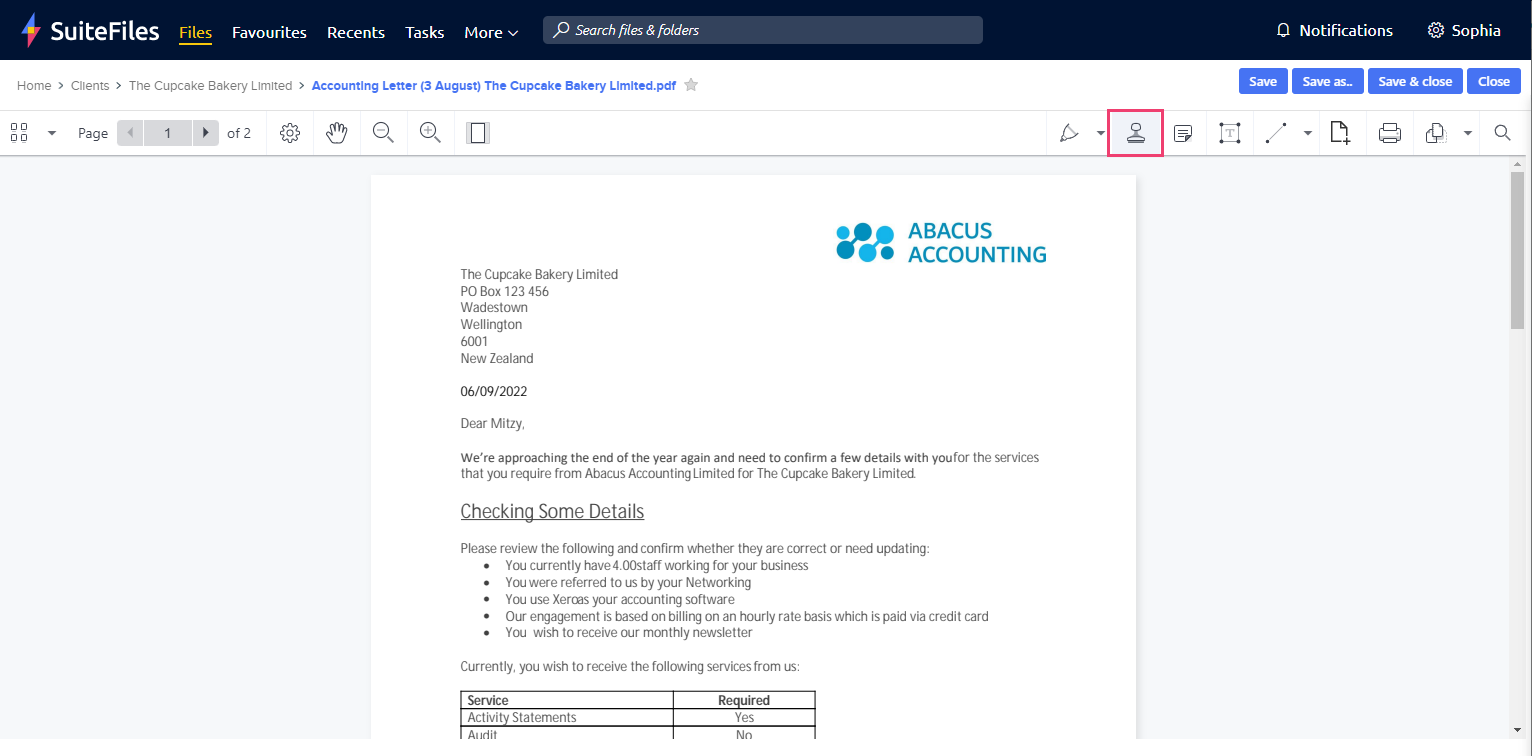
- A list of predefined stamps will appear. You can chose one of them by simply clicking on it, or you can customize your stamp by selecting Custom Stamp.
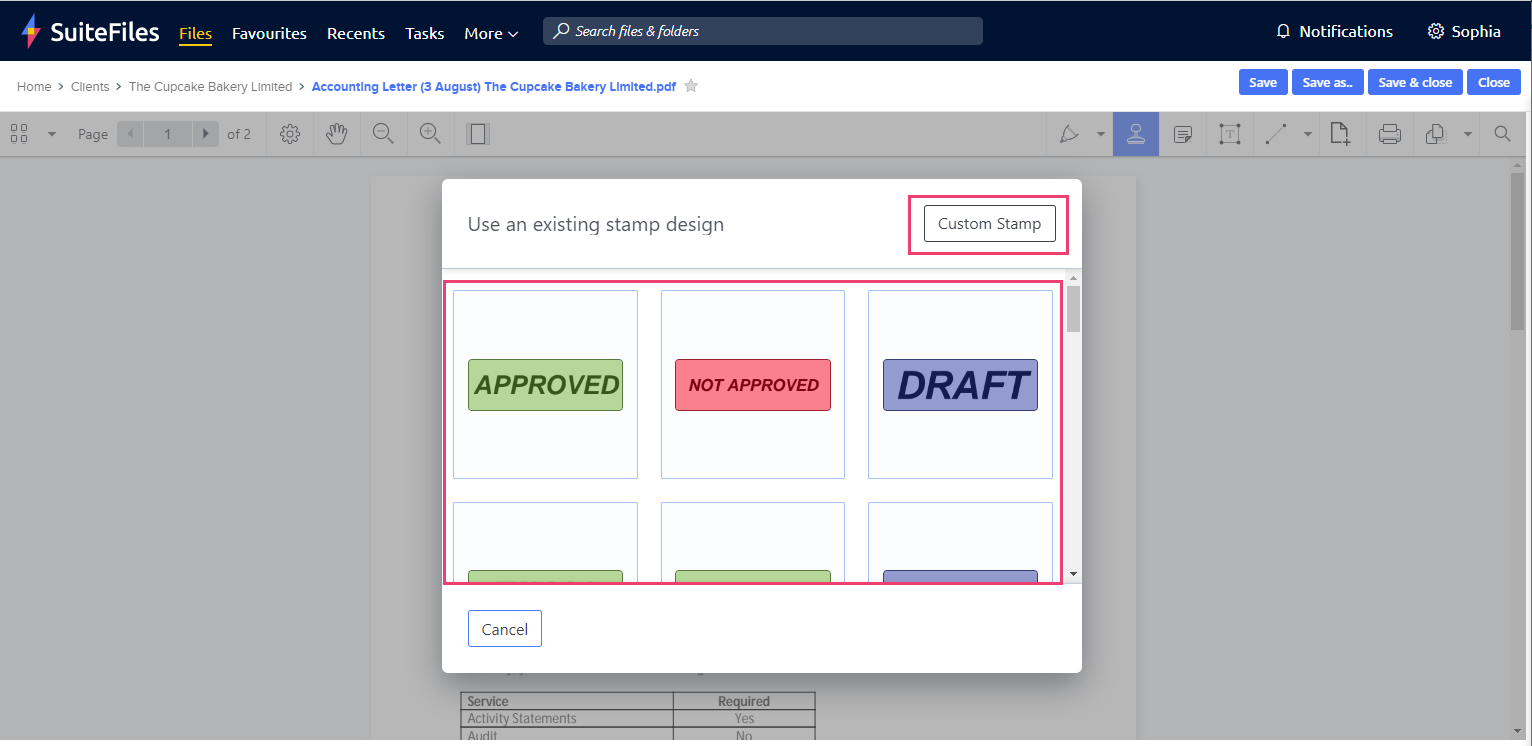
- Customize your text in the Stamp Text bar, and choose whether you would like to include the date and time. You can also choose your preferred stamp colour from the options provided.
- Preview your stamp before clicking Create Stamp.
- If at any time you would like to go back to the pre-made stamps click Use an existing stamp design.
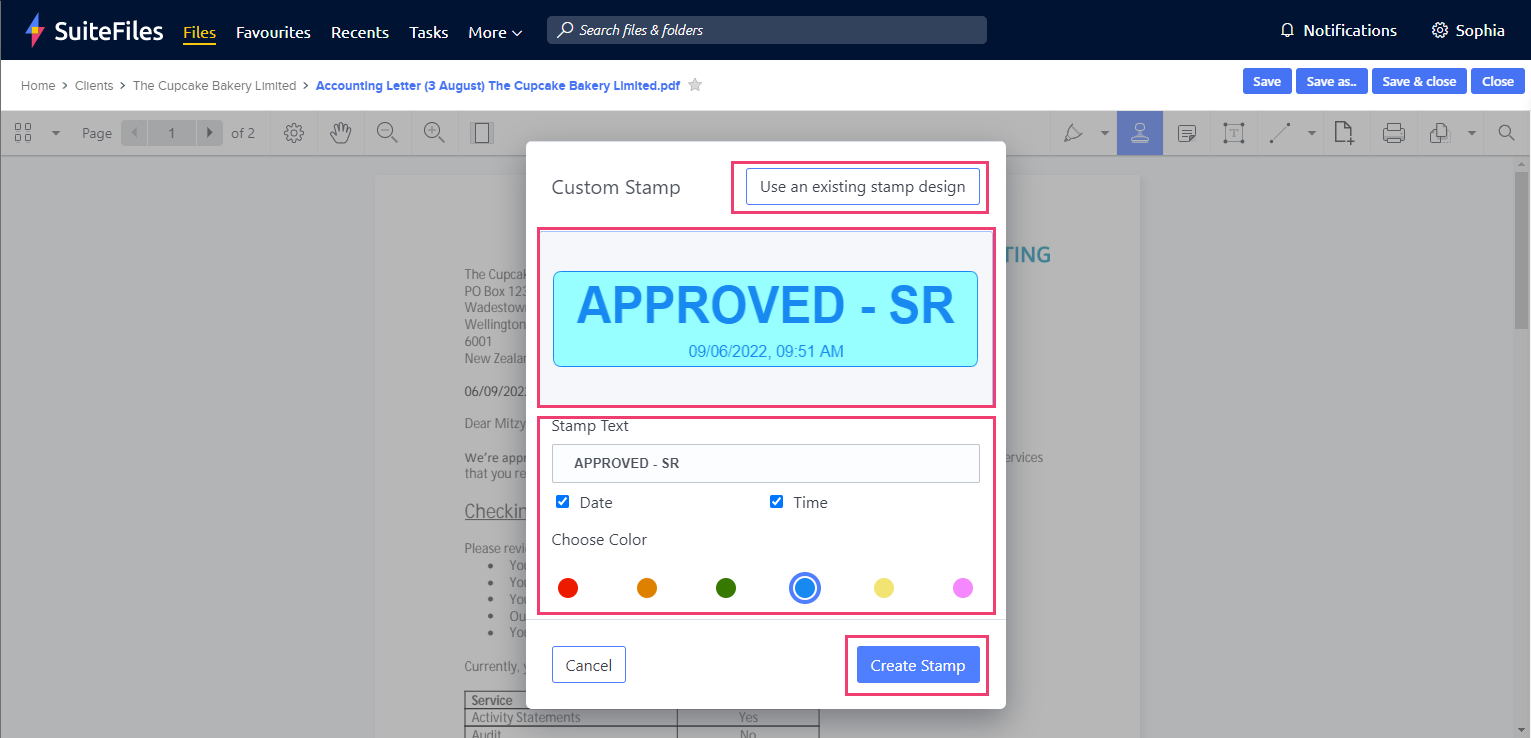
Please note that custom stamps cannot be saved. You'll need to recreate them each time.
- Once you have created your stamp, move and resize it as needed.
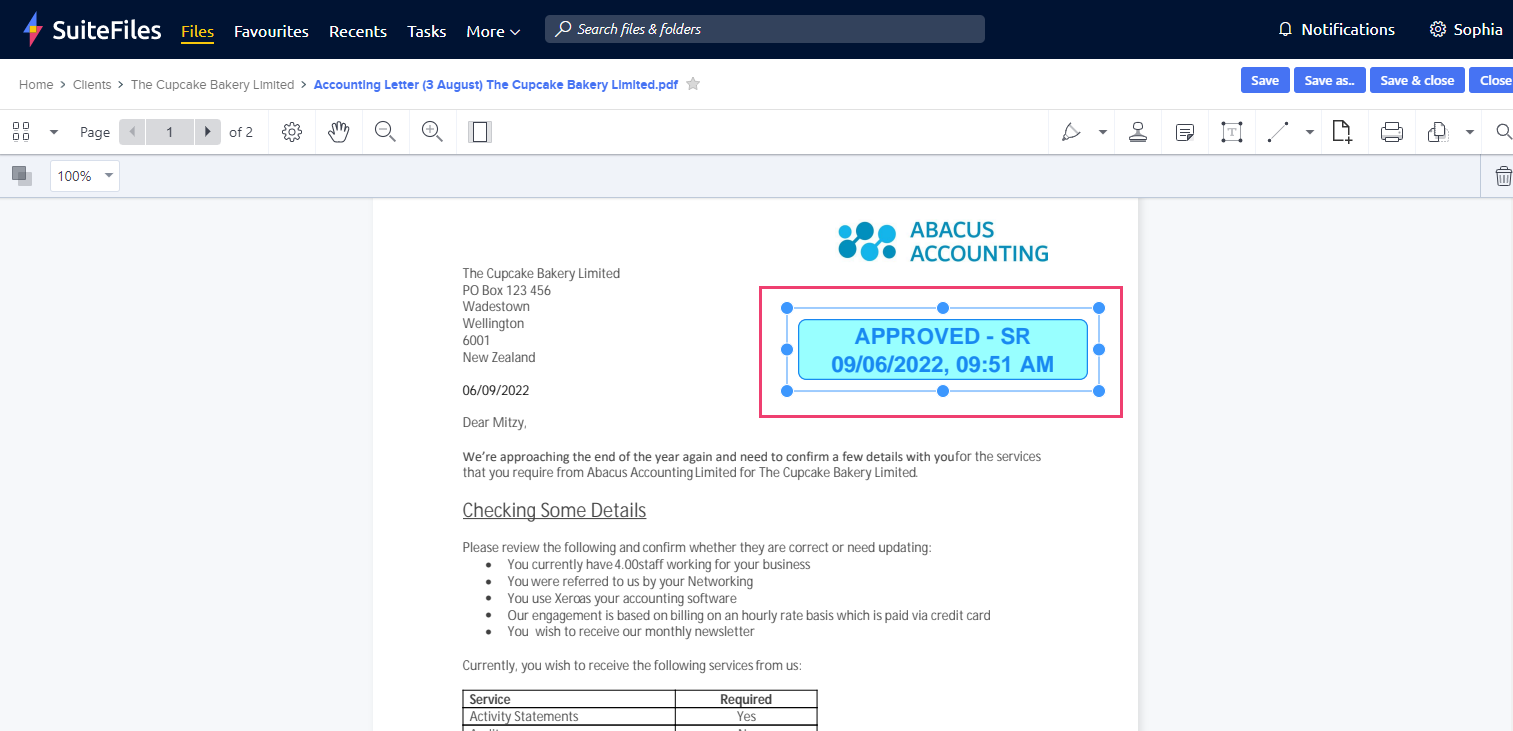
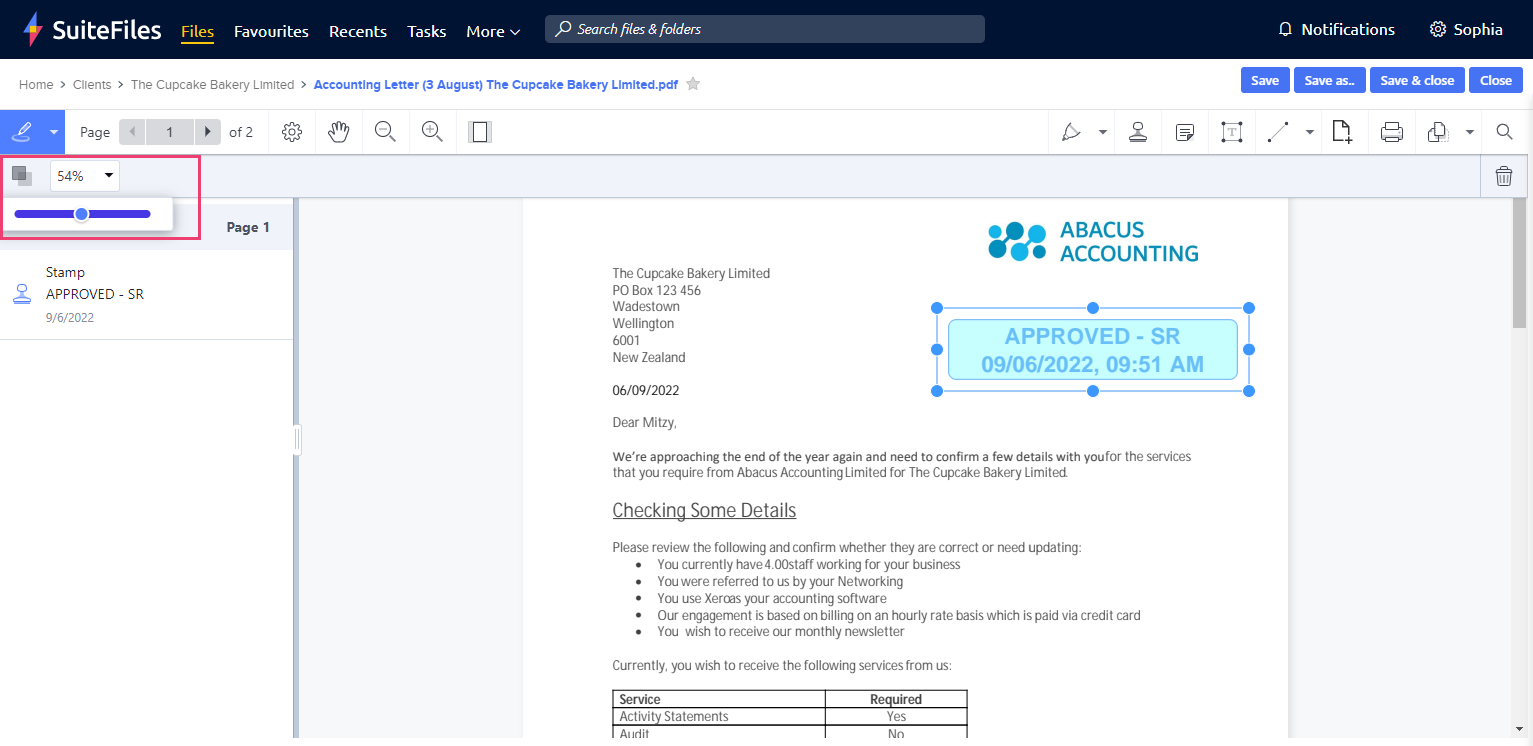
- To change the opacity of the stamp, select the stamp and slide the toggle as shown until you get the desired opacity.
- Once you are happy with the stamp click Save to save your PDF changes and continue editing your PDF.
