Filing documents in the Scans tab:
- You can rename and move files at the same time by filing them in the Scans tab,
- When files are uploaded by sending them to a folders email address the files will also show up under the Scans tab which functions like a queue of documents which need to be filed.
- The advantage of this section is you can view all documents uploaded in this one section, especially useful if you've scanned documents to multiple different folders.
To File a document:
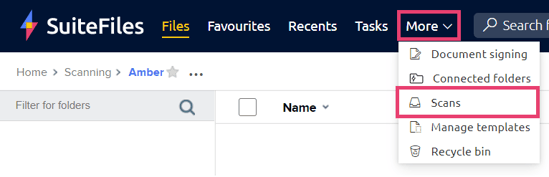
- Go to More > Scans:
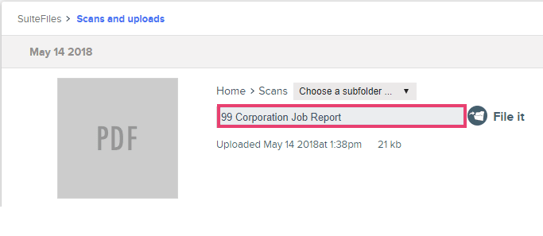
- You can provide the file with a new name by entering it's new file name in the text field:
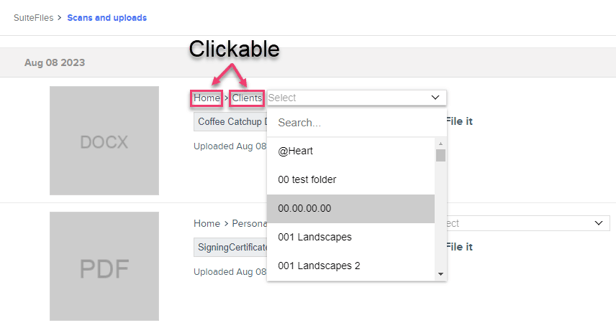
- You can choose a new location for the file to be stored in by clicking on any of the folders in the folder path e.g. In the above screenshot, I can click on Home to then be able to choose a different folder other than Scans to file to.
- Clicking the File it button will rename the file and move it to the folder path you've selected. If you leave the folder path as it is but provide a new file name, it will only rename the file and vice versa.
- Clicking File it will also remove the file from being in your Scans queue so you won't see it in the Scans section anymore. This is important, if you let too many items accumulate in this queue it will eventually be too large to load properly.