We've introduced a PDF Editor and several signing enhancements for Super Suite customers
In this article
Editing a PDF
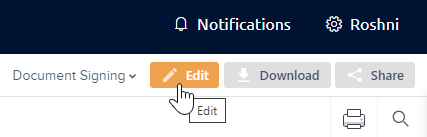
To mark up a PDF in the SuiteFiles Web App
- Open the PDF file and click Edit
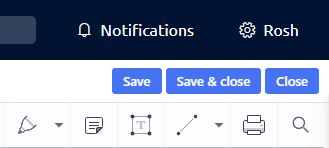
- Select an option from the editing toolbar
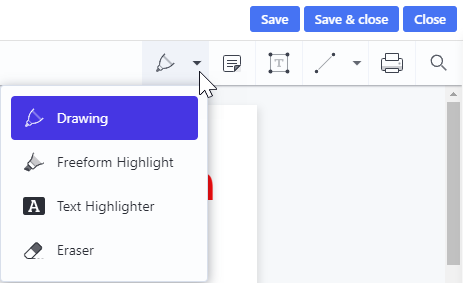
- Use the Drawing tool to access the Pen tool, Freeform or Text Highlighter and Eraser
- Click the Note icon, then click the document to place the note, giving you the flexibility of adding longer comments to your documents
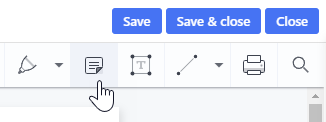
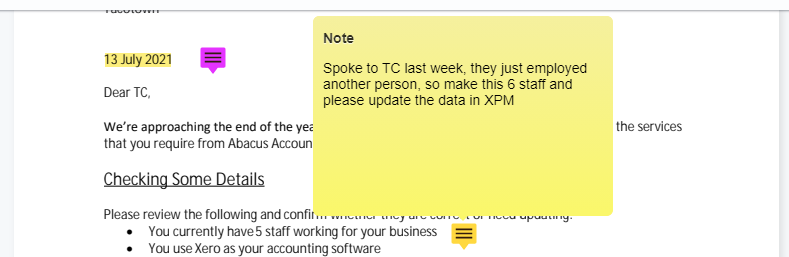
You can select a different colour for your note from the options on the toolbar on the left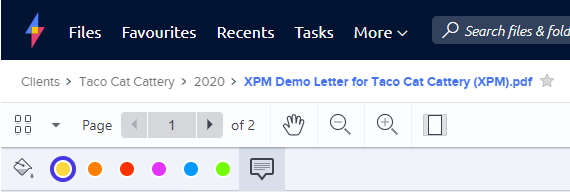
- Add a Text Box, and customise the colour, size and font selection of the text from the toolbar

- Add Shapes including Lines, Arrows and Rectangles
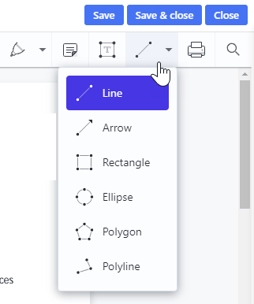
Customise the shape colour, fill, opacity, line thickness and more using the toolbar options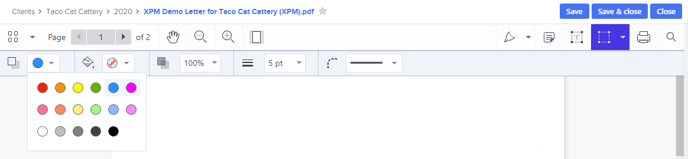
- Select any text in your document to bring up quick editing options such as Text Highlight, Strikethrough, Underline and Squiggle

- Once you have completed editing your PDF, save your changes:
- Save will save your changes and allow you to keep editing
- Save & close will save your changes and take you back to the PDF preview
Deleting Annotations
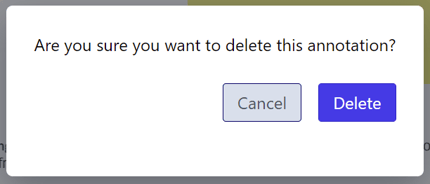
To delete any annotations from your PDF
- Select the annotation you'd like to delete
- Click the Trash icon in the top right corner

- Confirm your deletion by clicking the Delete button on the resulting message
Quick tip: Select the item and press Delete on your keyboard for an easier way to remove annotations from your file
Signing updates
This latest update includes changes to SuiteFiles Document Signing including:
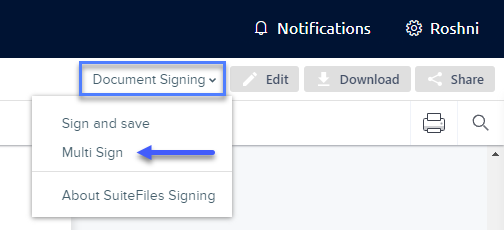
- Quick Sign and Advanced Sign have been merged to create the new Multi Sign option. Use this when preparing a document for signing by you and others.
- After selecting Multi Sign, you'll be taken to the Add Recipients screen.
- Look up your Signees’ name by typing into the Full name field and selecting the contact from XPM or WFM
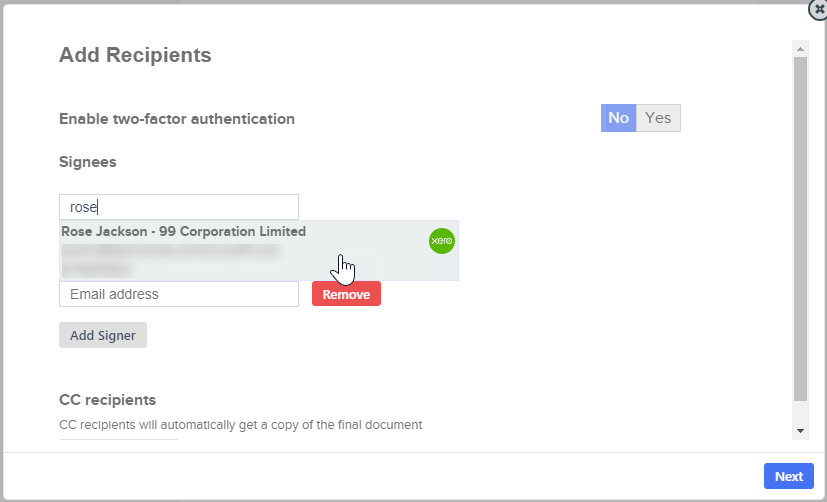
- Look up your Signees’ name by typing into the Full name field and selecting the contact from XPM or WFM
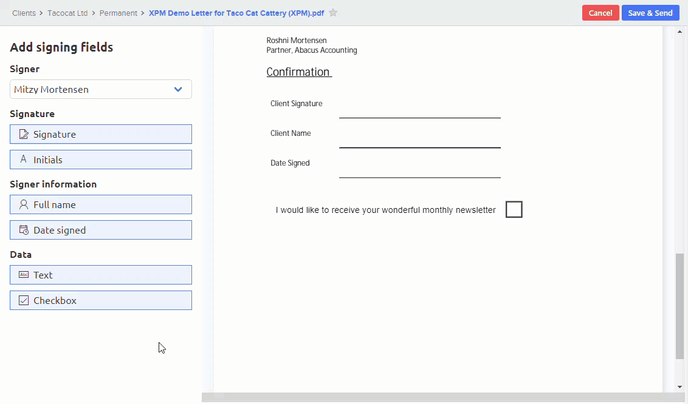
- When preparing your document for signing, you can now easily adjust the height and width of your signing fields
- You can also include an empty check box that your clients can check when signing your documents
-
- To add a checkbox to your document for your client, select their name from the Signer drop-down, and click the Checkbox field. Place the field on the document.
- At the client's end, they'll be able to click the box once to add a check:

- To add a checkbox to your document for your client, select their name from the Signer drop-down, and click the Checkbox field. Place the field on the document.
Please note: Checkboxes are required fields. The client cannot complete the document for signing if any checkboxes are left un-checked.