As you step through the signing process, on Step 3: Message, you can save and select message templates.
Creating a message template
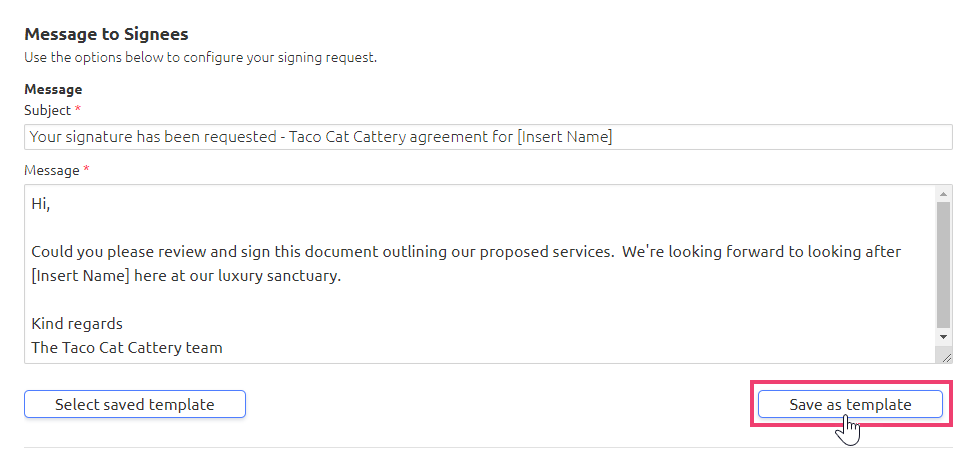
- To create your first template, type over the existing Subject and Message text
- Click Save as template. Please note that templates will be visible for all staff
- A message 'Got it! Your message template has been saved' will appear in the bottom right corner, indicating a successful save.
Tip: As templates are shared across all staff, you may wish to remove your name from the default sign-off before your save your template, or replace it with you business name as we've done in the above example e.g. The Taco Cat Cattery team.
Selecting a saved message template
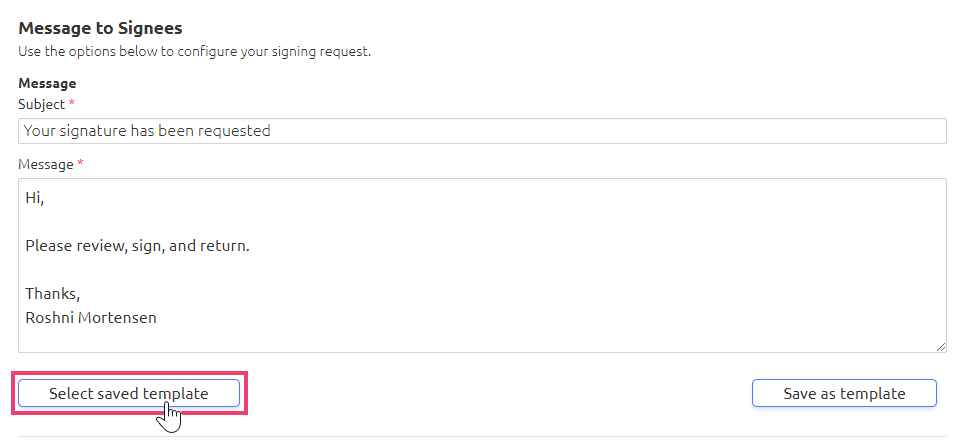
- To view all saved templates, click Select saved template
- Your saved templates will expand out underneath
- Under 'Document signing message templates', click Use Template
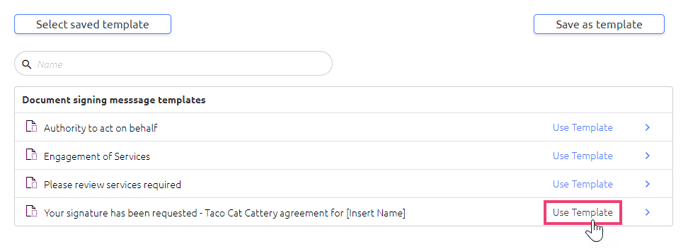
- This will populate the template to your Subject and Message fields, overwriting any message that is there
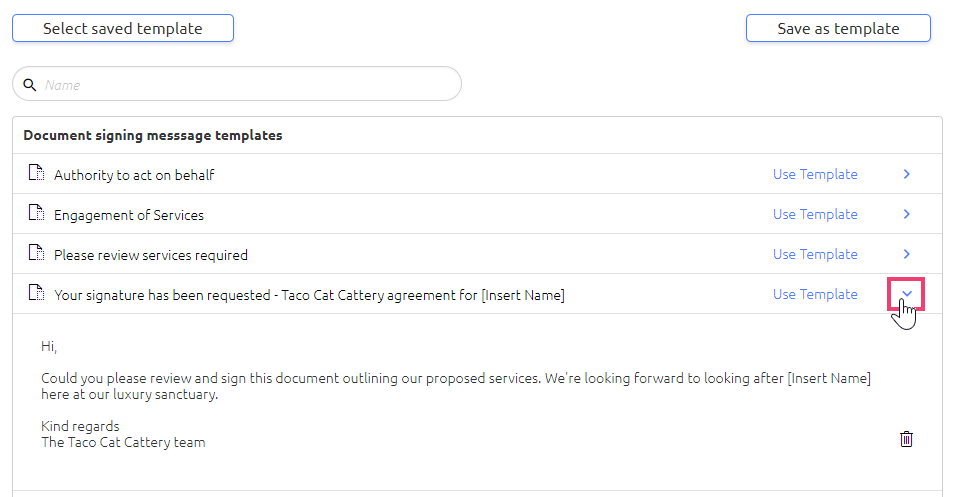
- To read the template first, click the > icon to the right to expand it.
Overwriting a message template
- To overwrite a saved template, follow the steps above to populate the current template to your message fields. Make the necessary changes to the template and click Save as template
- A message will pop up asking if you'd like to overwrite the message template
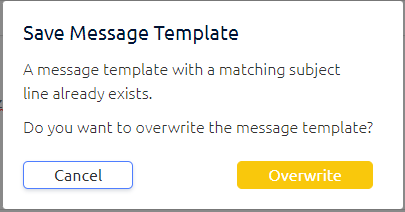
- Click Overwrite to replace the existing template with your new wording, or Cancel to keep the template as is.
Deleting a message template
- Click the > icon to the right to expand it
- Click the Trash icon in the bottom right corner
- A message will pop up asking if you're sure you want to delete the message template
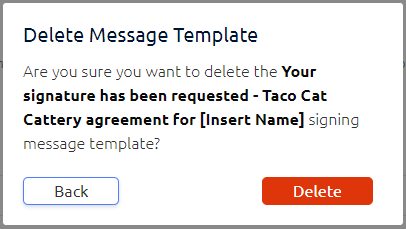
- Click Delete to delete the template for all users, or Cancel to keep the template as is.