In SuiteFiles, you can share any individual file with a Connect user through SuiteFiles Connect. If you select a Microsoft 365 file type, these can be reviewed, edited or approved by the client. However, if you want to share a PDF document, these can only be reviewed or approved.
Sharing a Microsoft 365 File:
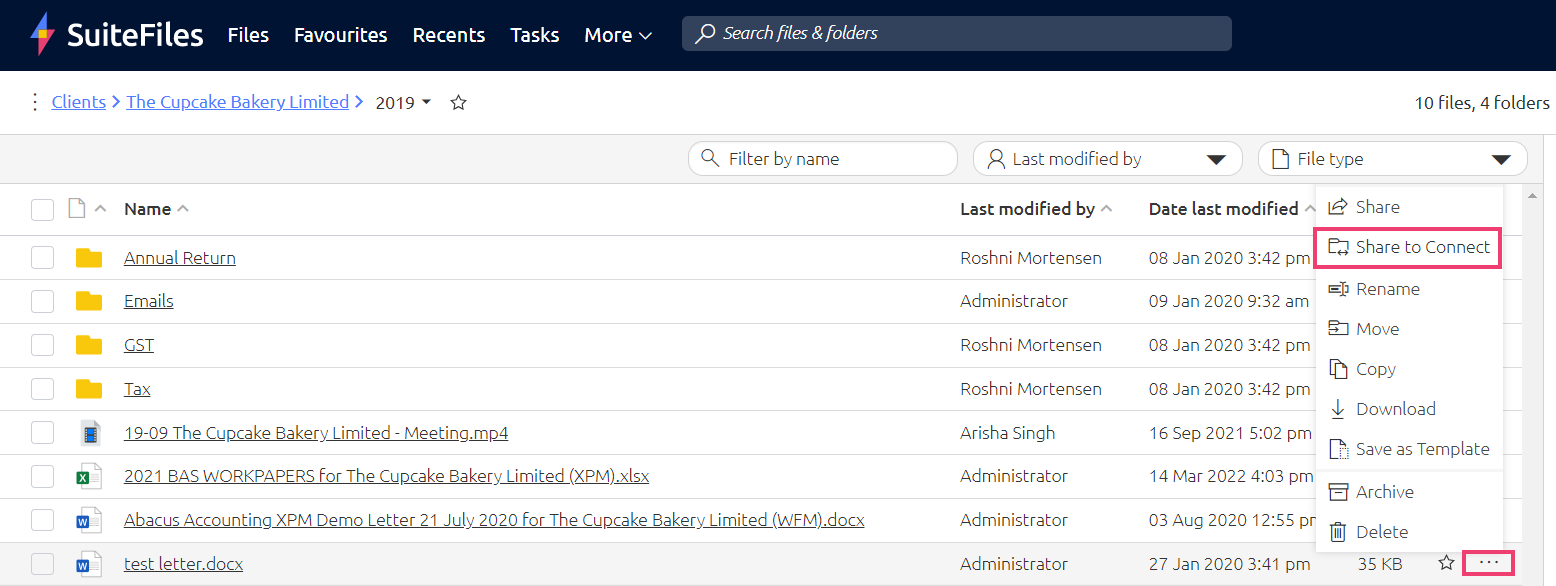
To share one file with your client:
- Click the three dots to the right of the file you wish to share with them
- Select "Share to Connect..."
- Click Add contact and enter your contact users email address, or if you have integrated with e.g. Xero Practice Manager or WorkflowMax, you can select a name/email address from the drop-down list. Click Next.
- Select whether you want the file to be:
- Reviewed: this will allow the connect user to only view the file
- Edited: This will allow the connect user to view and edit the file.
-
- Approved: this will allow the connect user to only view the file
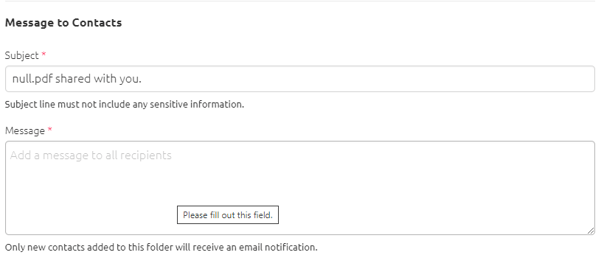
- Fill the details as prompted on the screen. This includes the subject line of the task, a message to provide further details, and an optional due date. Click Next.
- Please note: when adding a message, you can only use a maximum of 256 characters (including spaces). If you exceed this limit, you will see the error message: "Validation failed for one or more entities"
- Please note: when adding a message, you can only use a maximum of 256 characters (including spaces). If you exceed this limit, you will see the error message: "Validation failed for one or more entities"
- Review the fields you've completed and when you're happy click Share.
- Your Connect user will receive an email notification alerting them to your file share. They can then log into SuiteFiles Connect and complete the file review, edit or approval process. If this is the first time you’ve interacted with your client via Connect, they will also be asked to set up their SuiteFiles Connect account.
Sharing a PDF File:
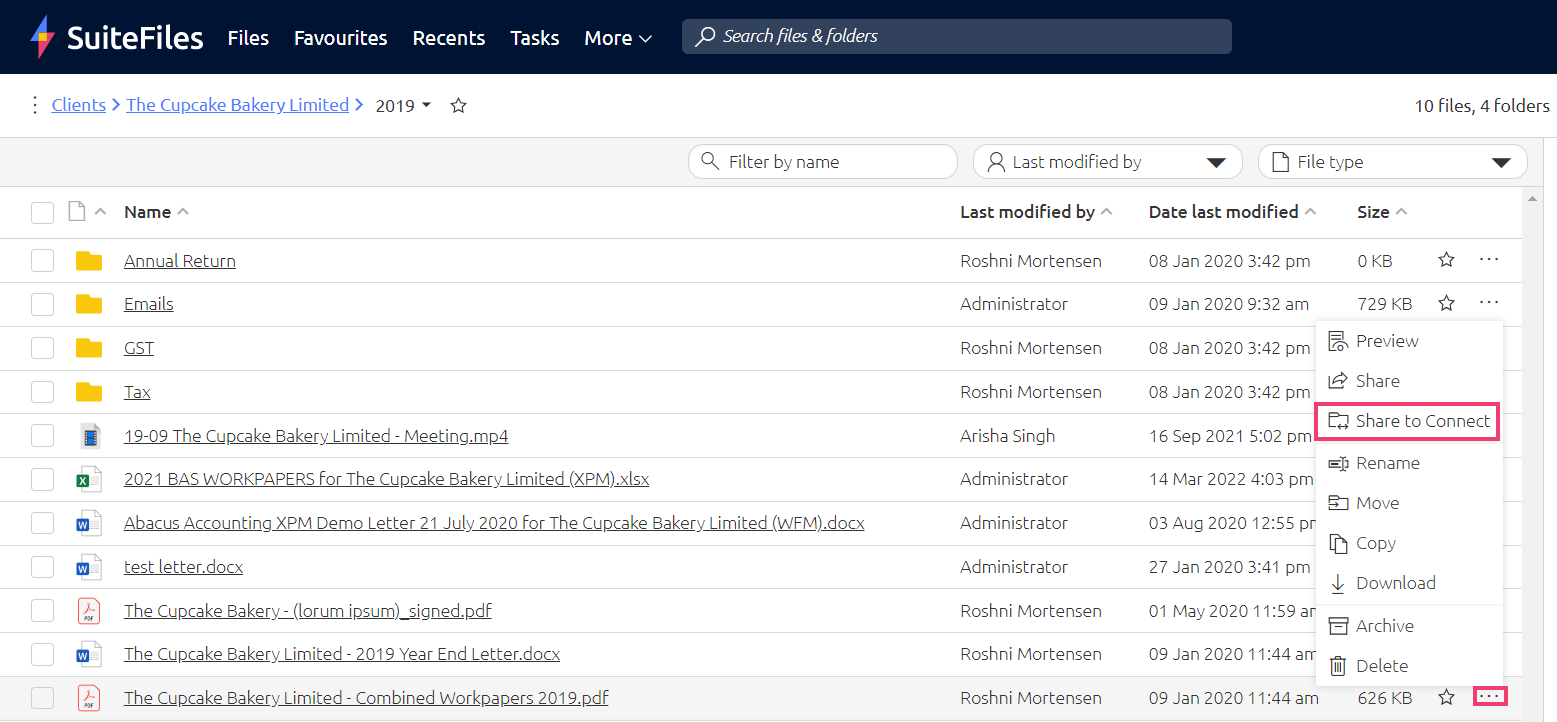
To share one PDF file with your client:
- Click the three dots to the right of the file you wish to share with your Client
- Select "Share to Connect..."
- Enter your client’s email address (ensure you press Enter on your keyboard), or if you have integrated with e.g. Xero Practice Manager or WorkflowMax, you can select a name/email address from the drop-down list.
- Select whether you want the file to be reviewed or approved.
- Fill the details prompted on the screen. This includes the subject line of the task, a message to provide further details, and an expiry date (optional).
- Please note: when adding a message, you can only use a maximum of 256 characters (including spaces). If you exceed this limit, you will see the error message: "Validation failed for one or more entities"
- Please note: when adding a message, you can only use a maximum of 256 characters (including spaces). If you exceed this limit, you will see the error message: "Validation failed for one or more entities"
- Click Share
- Your client will receive an email notification alerting them to your file share. They can then log into SuiteFiles Connect and complete the file review, edit or approval process. If this is the first time you’ve interacted with your client via Connect, they will also be asked to set up their SuiteFiles Connect account.
To review and track your tasks, please read: Where will my client's file requests be submitted?.
Please note: SuiteFiles Connect is not mobile compatible