How do I send a document out for signing?
SuiteFiles signing is available on our Super Suite plan, and allows you to send any PDF file to one or more signees. Once signed, the file will be returned to the original folder.
This guide includes:
Step 1: Adding signees
- From your PDF file, click Document Signing
- Enter your first signee by typing their name into the Full name field.
If you're connected to an integration (e.g. Xero Practice Manager, WorkflowMax or MYOB Practice Management/GreatSoft) the matching contacts will appear in the drop-down, with the associated icon. You can select one of these contacts.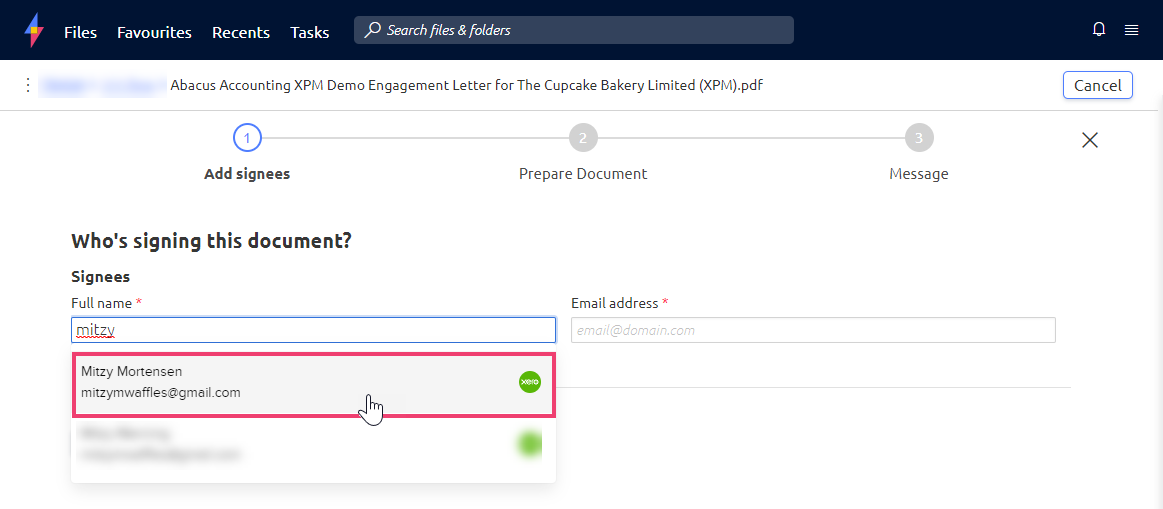
If their email address is stored in the integrated app, the Email address field will auto-fill.
Otherwise simply continue typing the signee Full name, then enter their Email address. - You can enable Two-factor authentication for each signee. This will send an SMS code the signee must enter before they can view the document for signing.
If Two-factor authentication is required, toggle Turn on two-factor authentication on (blue indicates the field has been toggled on, grey is off).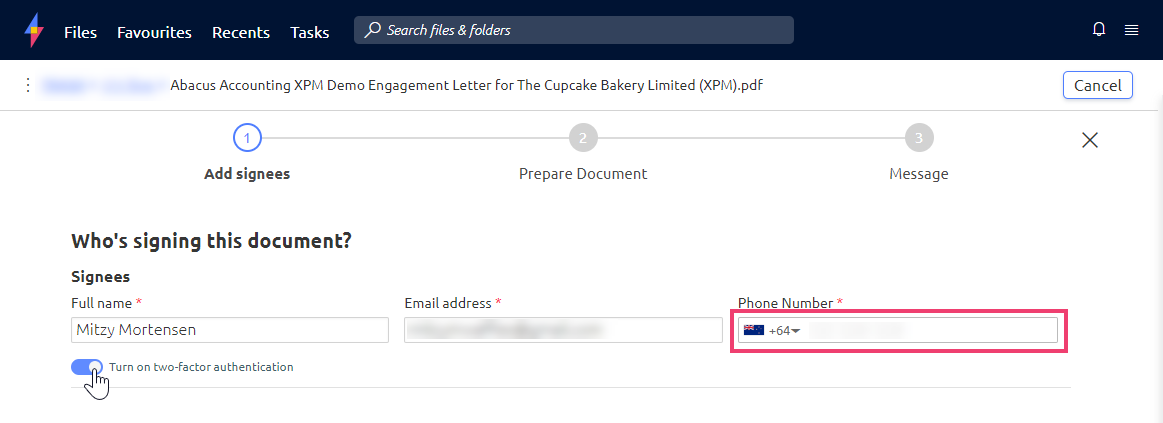
If their mobile number is stored in an integrated app, the Phone Number field will auto-fill. Be sure to select the correct Country Code from the drop-down. Available Countries are Australia, Canada, Ireland, New Zealand, South Africa, United Kingdom & United States. - If you need to add additional signees, click the Add signee button and follow the same steps above to enter their details.
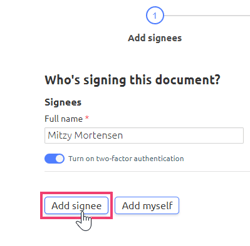
Once you've added more than one signee on your document, you can enable sequential signing to set the signing order if you wish. - If you need to add yourself as a signee, click the Add myself option.
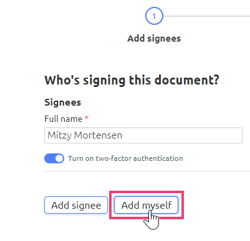
- Click Next to be taken to the Prepare Document step.
Sequential signing
To set the signing order for document signing requests:
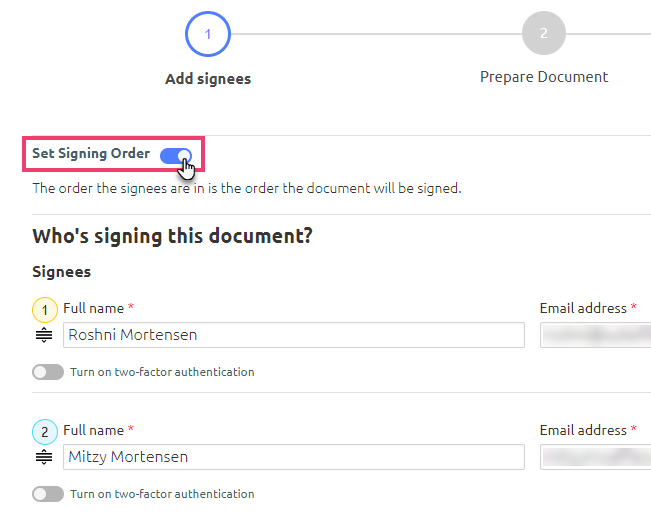
- Once you’ve added a second signee, you can toggle Set Signing Order on.
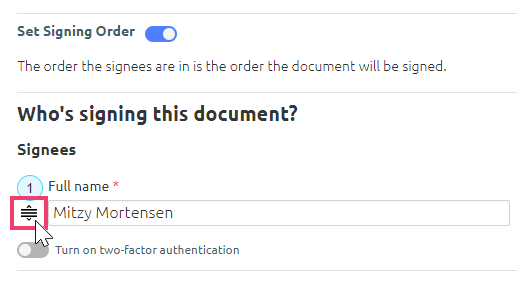
- Use the
 icon to move the signee up or down to change the signing order.
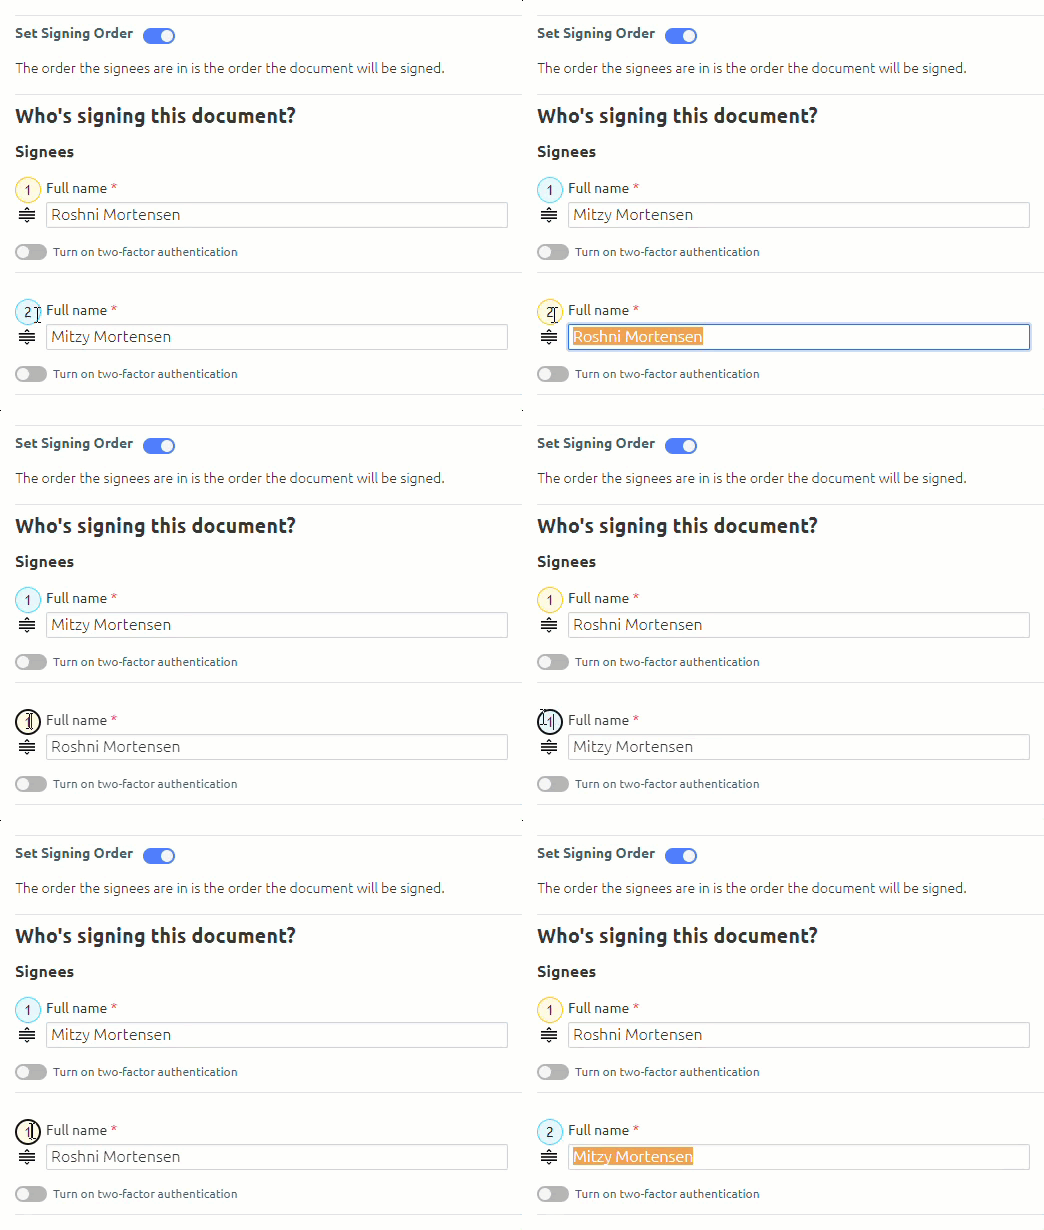
- You can also change the number in the coloured circle to reset the order. For example, typing 1 next to Mitzy’s name in the below example switches her from position 2 to position 1, and reorders the other signee to position 2.
- Click Next to be taken to the Prepare Document step.
- At the recipients’ end, the first signee will receive an email requesting their signature. Once they have signed the document, and second signee will receive their email and so on.
- All subsequent signers will see the previous signees’ signatures when viewing the document.
Step 2: Preparing the document
-
Any signees added in step 1 will now be available to place signature fields for.
-
If you've added yourself and others to the document, you'll place your own fields first. The Signer will default to "Me" which will allow you to place and resize your own Signature, Initials, Text field, checkbox or Note into the document.
-
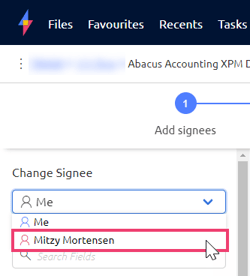
Select your other signees from the Change Signee drop-down. You can place the signer's Signature, Initials, Full Name, Date Signed, Text and Checkbox fields into the document.
- If only you're signing the document, you'll click Finish and the document will be processed. If you've got others signing the document, you'll click Next to proceed to Step 3: Message.
Placing Fields:
- To place a field on the document, select a field name and click a location on the document.
Note: The signer's name will be displayed on each zone and under each signer's field, so you can easily identify, move and resize fields into the correct position on the document. - For signing placement tips see Tips for signing field placement, including how to copy and paste fields.
- Use the Search Fields option so you can easily look up signing field names.

- You can click back to the Add signees step if you need to edit, add or remove signees. The changes on the Prepare Document step will be retained.

- Once all fields have been placed, click Next in the bottom right corner of the screen.
Optional Text and Checkbox fields
- By default, these fields will be set to Required.
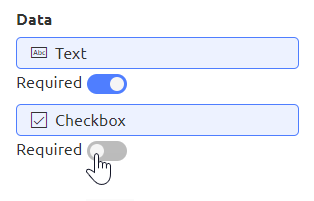
- Toggle Required off to make the field optional (grey indicates the field has been toggled off, blue is on).
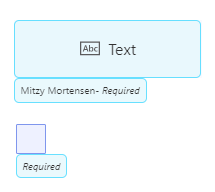
- You can place a mixture of required and optional Text and Checkbox fields, by toggling the Required button on or off before placing the field on the document.
- Once placed, the field will specify whether it is required.
Copying and Pasting Fields
- Once you have placed a field in the document such as 'Signature' and resized it to how you want, you can copy and paste the field to have it in multiple places in the document.
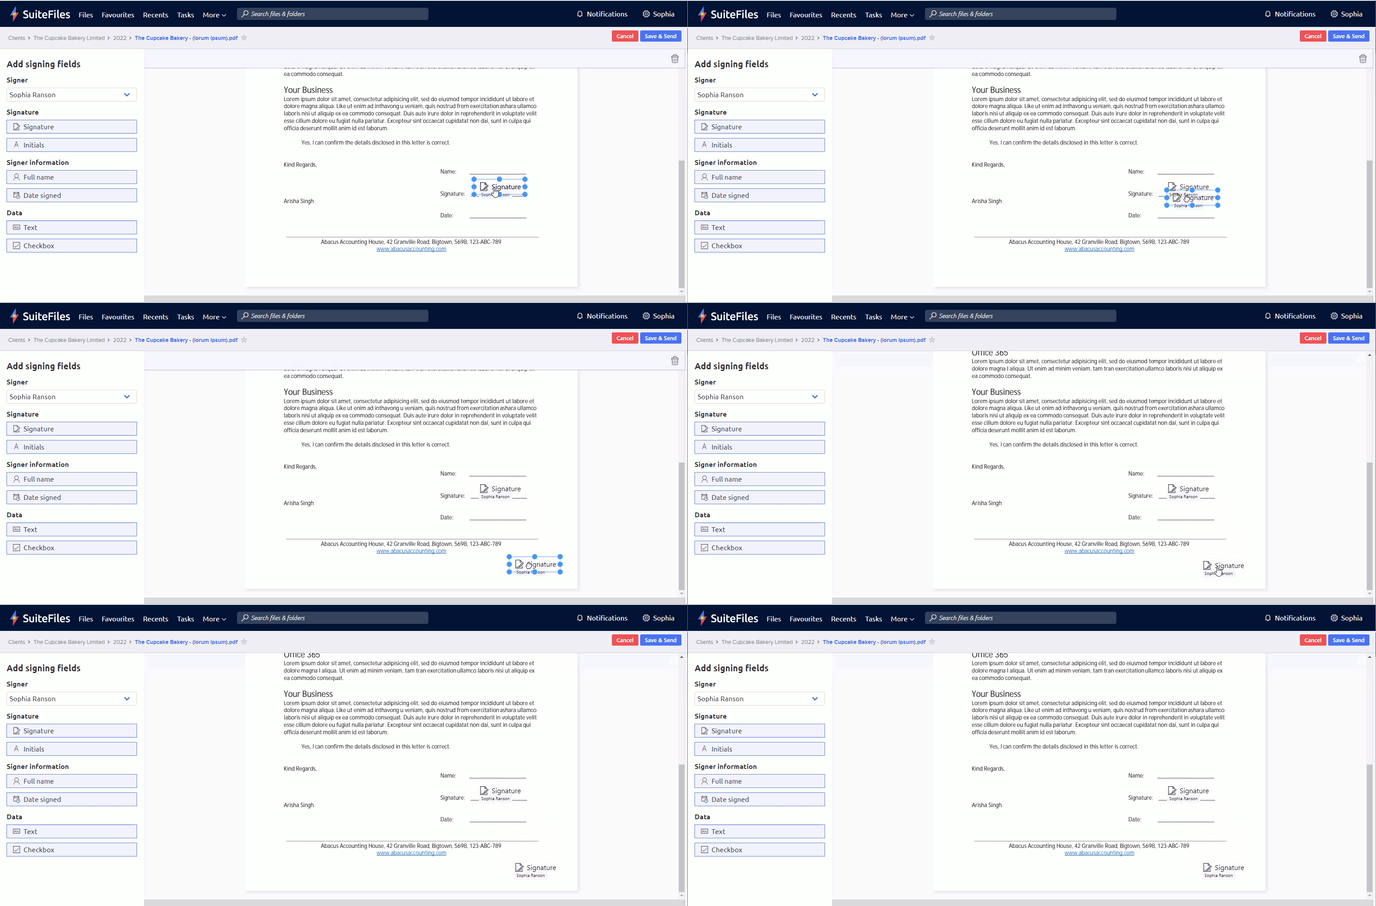
- Click on the field and on your keyboard press CTRL + C. This will copy the field. Then click CTRL + V to paste the copied field.
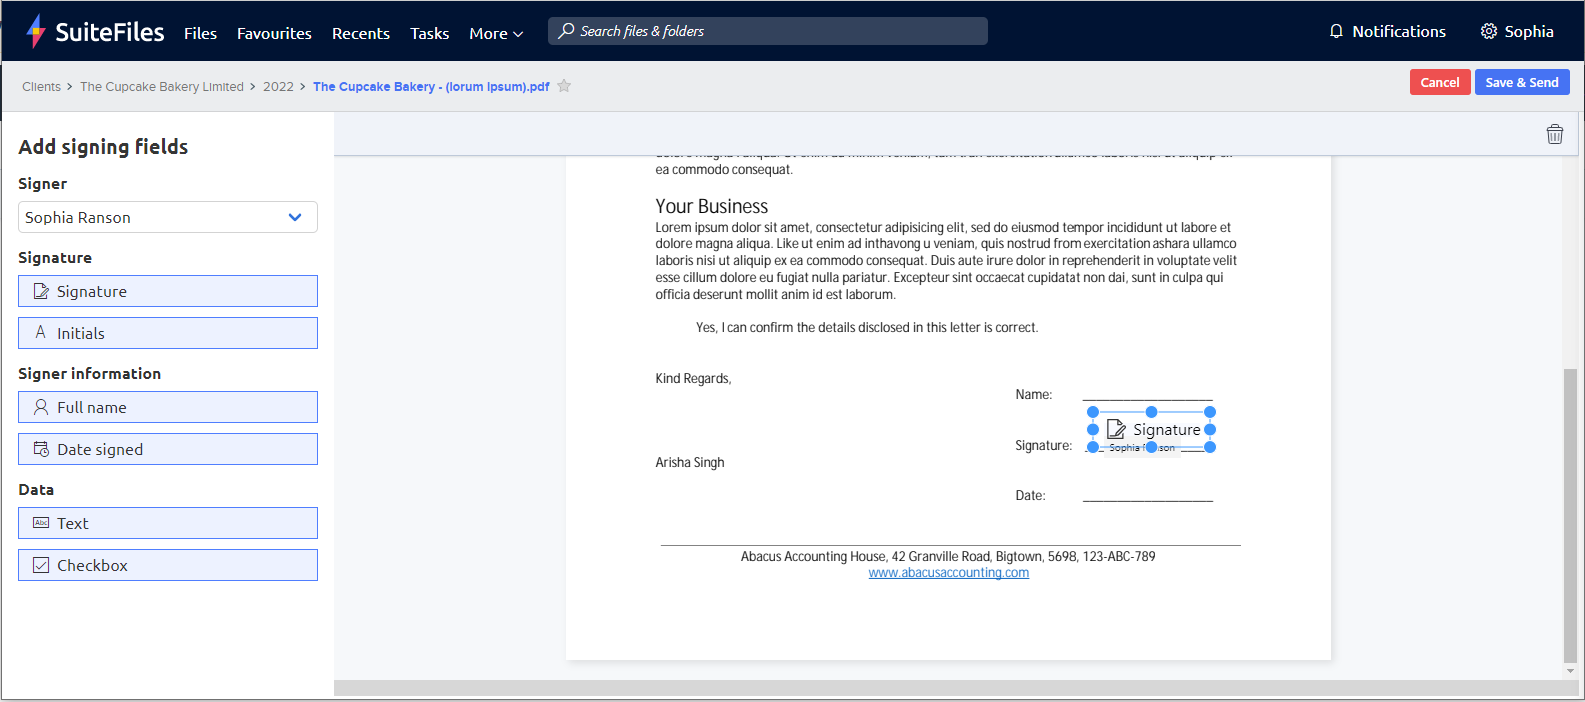
Please note that when you press CTRL + V it will look like nothing has happened. This is because the field has been pasted on top of the original field.
Also note when you copy a field, it will not be 'held' to your Clipboard. This means you cannot copy the field and paste multiple copies. You will have to press CTRL + C each time you want to create a copy of a field.
- Drag the copied field to the desired location on your document.
- Once all fields have been placed, click Next in the bottom right corner of the screen.
Step 3: Adding a message
At this step, you can edit your subject line & message, set an expiry date, reminders, add CC recipients and select whether to send the final signed document via a link or as an attached PDF to the email.
- You can set the Subject line for the first email that your signees receive. This will default to "Your signature has been requested". You can replace this with your own custom subject line.

⚠️ You can include part of the file name here but we encourage you to take the necessary steps to protect your signees' details. Do not include any personally identifiable details in your message subject line such as names and other confidential information.
Please note that only the first message's subject line can be customised. We'll have some additional updates to signing emails available in a future update 😍.
- The default message asks your signers to review, sign and return the document but you can customise this message when sending your document.
- A character limit displays below the Message field; the limit is 1024 characters.
✉️ To learn how to save and select message templates for signing requests click here. - When Expiry date is toggled on, the document will be set to expire 30 days from now. You can select a different expiry date by typing one in, or selecting one from the calendar drop-down.

If you toggle this off, the expiry date will default to 365 days from now, and signing reminders cannot be set for this document.
- Reminders can be set to send automatically every 7, 5 or 3 days, calculated from when the document signing request is created. Although you can select multiple options, we recommend only selecting one.
- CC Recipients can be toggled on if you'd like to add someone who doesn't need to sign the document, but needs a copy of the final signed document.

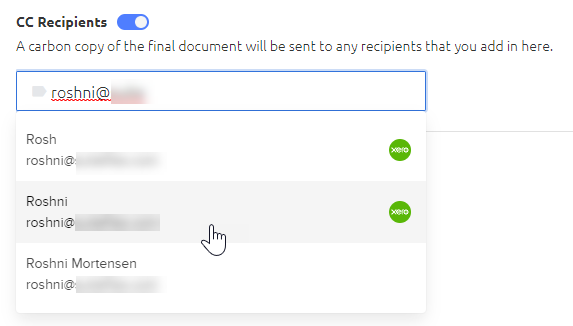
If your CC recipient is not loaded as a contact, you will see a 'There are no items' message as you type. Continue typing the recipient's email address and press Enter on your keyboard to bypass the drop-down. - You can click back to the Add signees step if you need to edit, add or remove signees, or back to the Prepare Document step to update signee fields. The changes on the Message step will be retained.
- Click Send to send the document signing request to all signees.
- From here, you can navigate to the Document Signing Management screen or go back to the folder you started the process from.
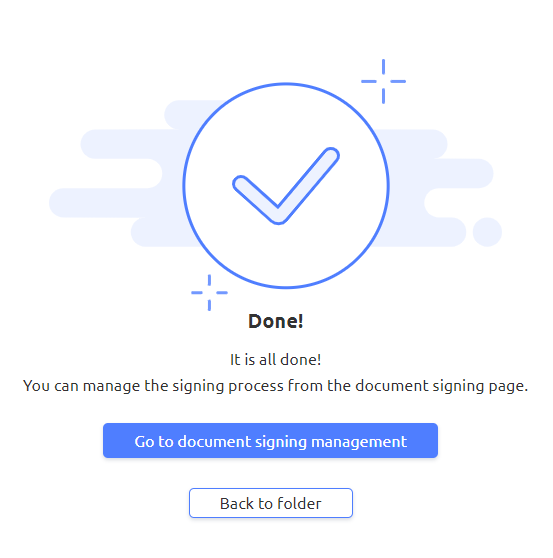
- Once the file has been signed by all Signees, you'll receive a confirmation email, and will see the signed version of the file in the folder you started the signing process from. It will take on the same file name as the original PDF, but will be appended with '_signed.pdf'.
