This article covers how to use the SuiteFiles Outlook app if you are accessing the Outlook Web App in your browser.
Please note: to enable the SuiteFiles Outlook app for Mac or the Web App, you must first contact us at support@suitefiles.com
This guide will step you through:
- Logging into the SuiteFiles Outlook app in your browser
- Saving emails
- Attaching files to an email
- Using a template
- Saving an email as a new template
Please note:
- If you're using Outlook for Mac, check out the steps on how to use the SuiteFiles Outlook app for Mac here.
- If you're on a Windows operating system and accessing Outlook from the desktop app, you can continue to use the Outlook add-in for Windows.
Prerequisites
You'll first need to ensure you have the SuiteFiles Outlook app enabled. Once enabled, follow the steps below to login to the SuiteFiles Outlook app in your browser.
Logging into the SuiteFiles Outlook app in your browser
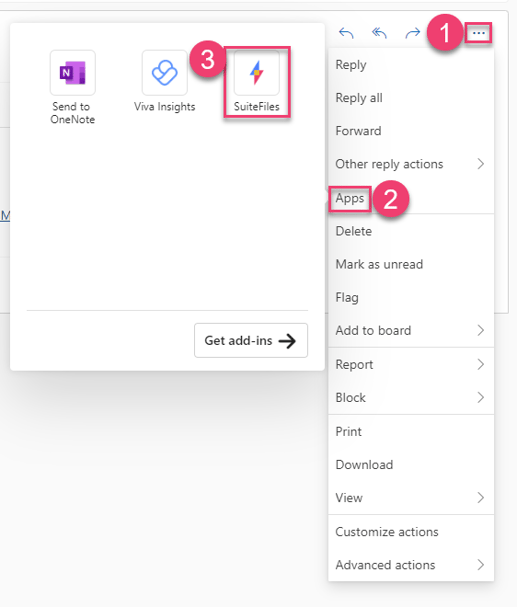
- Select an email and then click the ellipses icon at the top right of the message. Select "Apps" and then the SuiteFiles app.
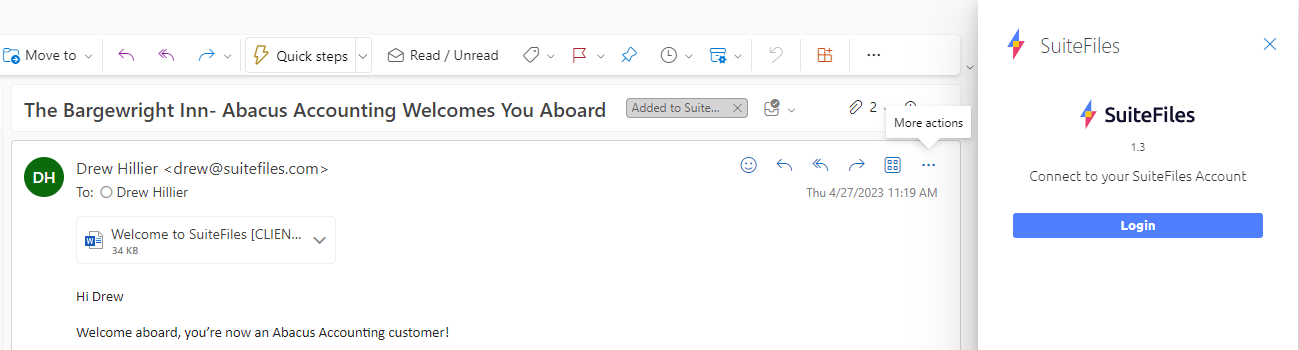
- The login screen will appear in a panel to the right of your email
- Enter your SuiteFiles URL, Office 365 email address and password, then click Login.
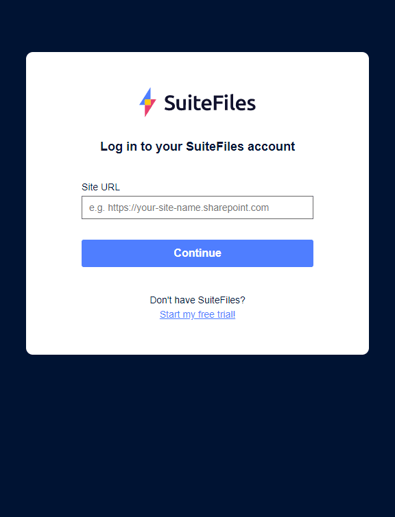
If you are using 2FA on your Office 365 account, use the Sign in using access token option and follow the steps here to generate an access token.
Saving emails
- To save an email into SuiteFiles, select the email you'd like to save so you can see its preview
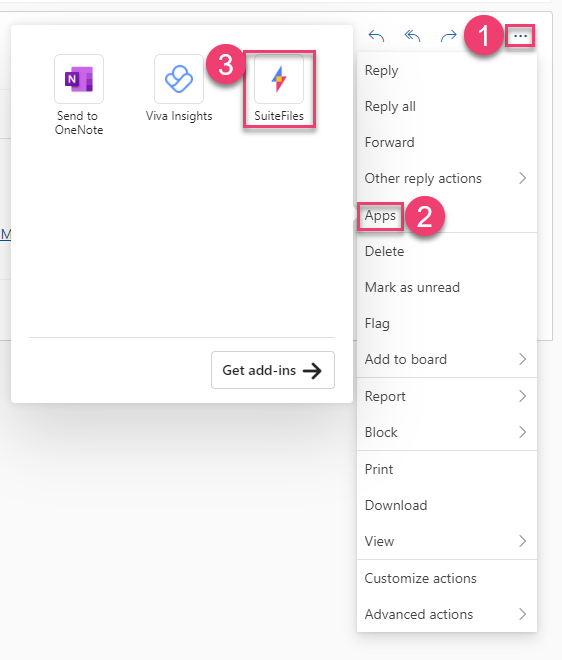
- Select an email and then click the ellipses icon at the top right of the message. Select "Apps" and then the SuiteFiles app.
- A screen will appear in a panel to the right of your email
- Select the email or any of its attachments files that you'd like to save
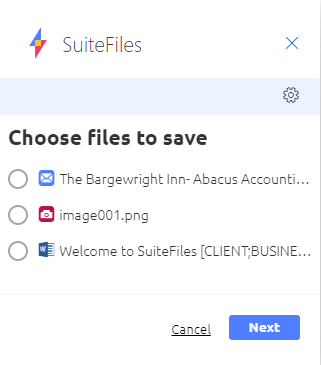
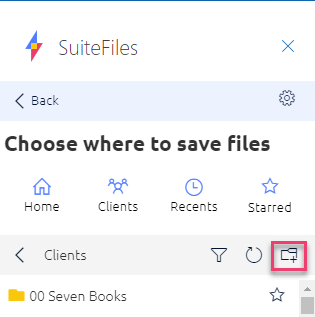
- Click Next and navigate through your SuiteFiles folders until you find the folder you wish to save your email and attachment(s) to
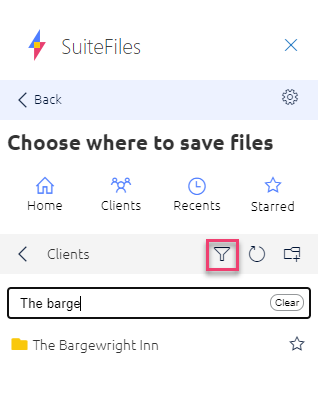
- Click the Clients icon to be taken directly to your Clients folders
- Click the Filter icon to filter your folders
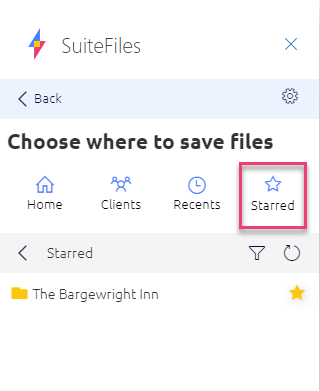
- Click the Starred icon to be taken directly to your Starred folders
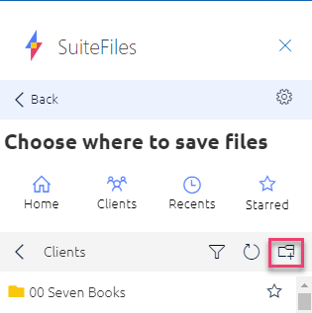
- To create a new folder, click the New folder icon and enter your folder name in the field provided
Attaching files to an email
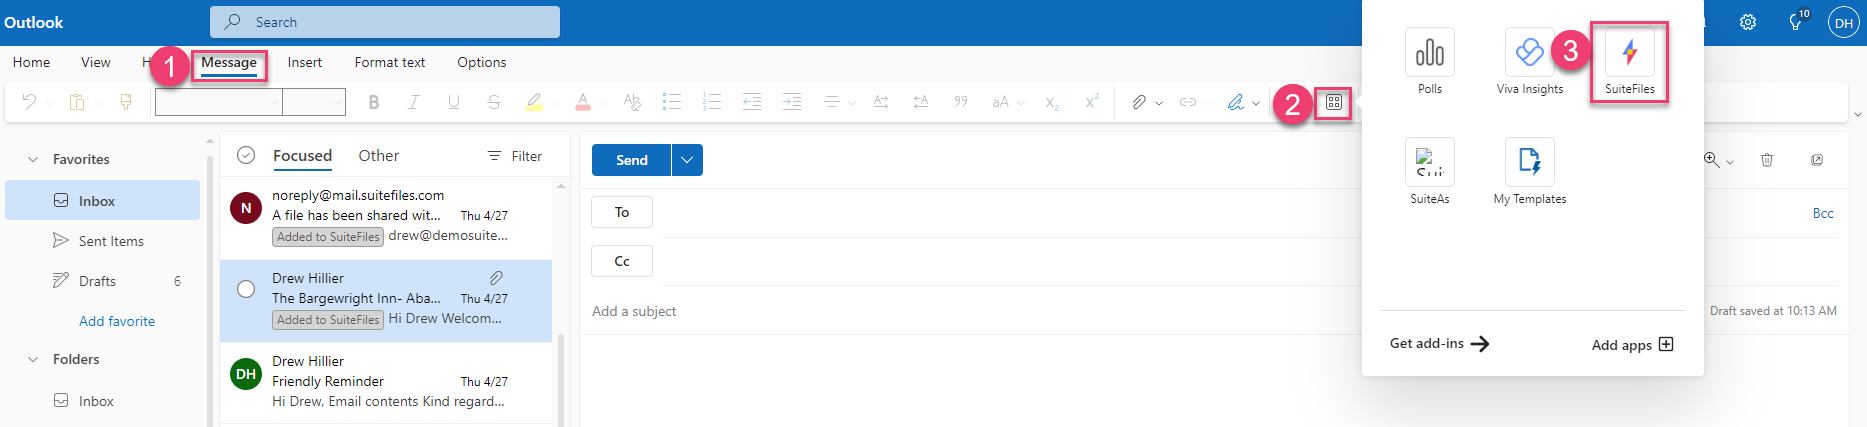
- Create a new email and then click the apps icon in the toolbar of the "Message" tab followed by the SuiteFiles app icon.
- A screen will appear in a panel to the right of your email
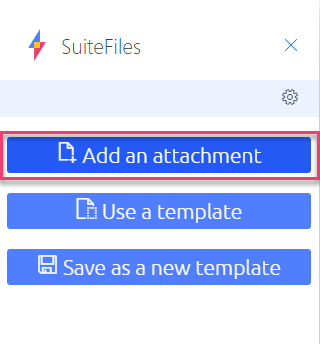
- Click Add an attachment
- Navigate through your folders and then click a file to attach it to the email
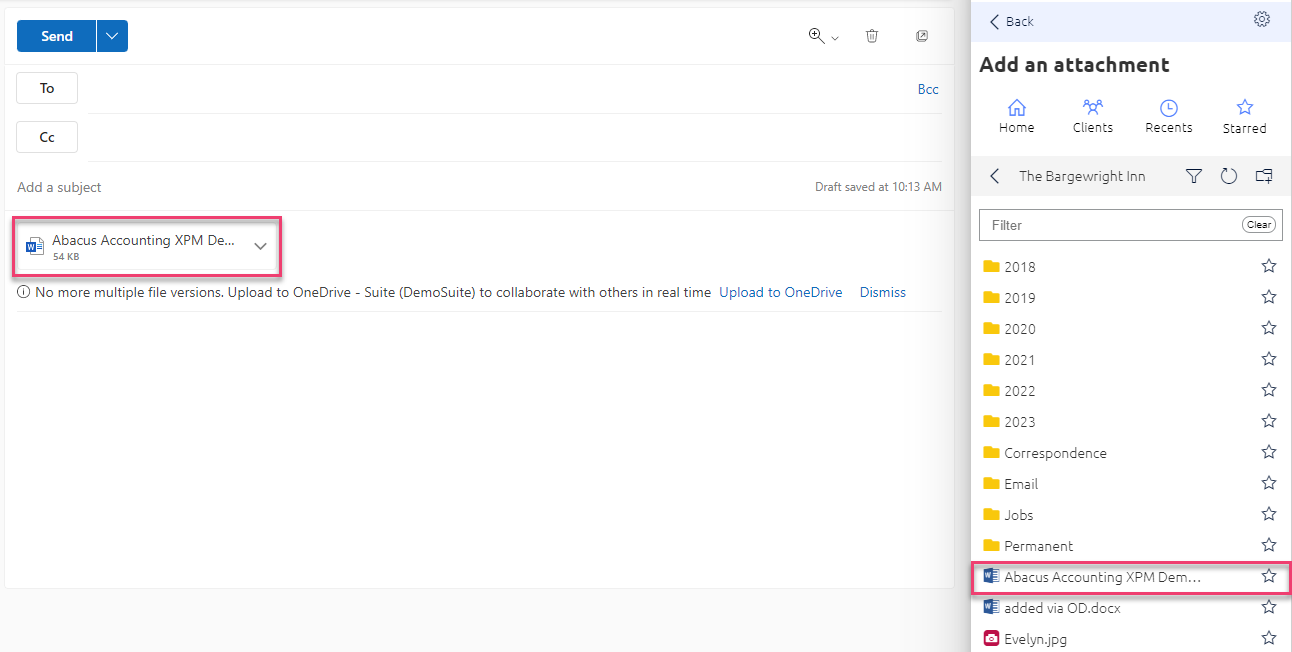
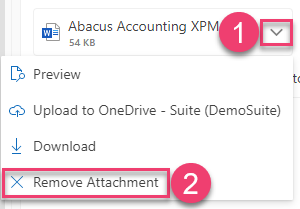
- To remove an attachment, click the arrow which appears to the right of the attachment, then select "Remove Attachment."
Using a template
-
Create a new email and then click the apps icon in the toolbar of the "Message" tab followed by the SuiteFiles app icon.
-
A screen will appear in a panel to the right of your email
-
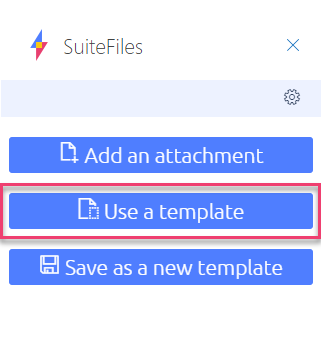
Click Use a template
-
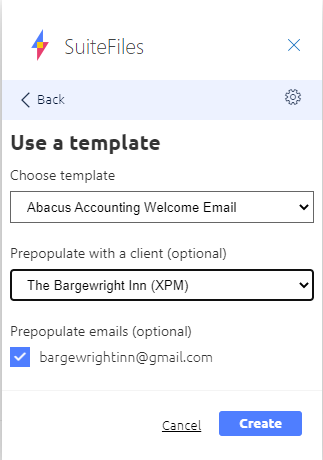
Using the Choose template drop-down, choose the email template you wish to use
-
Using the Prepopulate with a client drop-down, choose a client if you wish to populate the email template with their details
-
Click Create to populate your email from the template.
Saving an email as a new template
-
Create and new email and populate it with the content you wish to be included in your template.
NB: You can use Merge Tags to pull client data from our integrations. To learn more about this please refer to the following help articles:
- https://help.suitefiles.com/xero-merge-fields-for-templates
- https://help.suitefiles.com/karbon-merge-fields
-
Click the apps icon in the toolbar of the "Message" tab followed by the SuiteFiles app icon.
-
A screen will appear in a panel to the right of your email
-
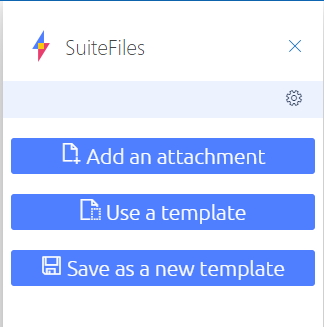
Click Save as a new template
-
Enter the template name
-
Click Save.